I missed posting last week for Tuesday Tips, and this is one I said I would get out several weeks ago, but just haven't gotten around to it. I sat down to write out the post and when I went to insert the pictures (which I took back in March and had already put on the computer) they have magically disappeared. I wish I could blame this on blogger but I can't, so I'm posting without the step by step pictures. Please feel free to ask me questions if something is unclear.
Making the Mickey Mouse Head Embossing Folder:
Decide on the size you want and make the folder itself. You can use poster board, or even cereal boxes. Most Cuttlebug folders are roughly A2 size (4 1/4 x 5 1/2.) I did make the Mickey Mouse Head folder a little larger, but not so large it wouldn't go thru the Cuttlebug.
I made my design Layout of all the little Mickey Heads with my Gypsy, but have also used Design Studio as well. I lay out the first row of images and then just cut and paste it over and over, but alternate the spacing of each row.
I will mention that poster board seems to cut cleaner than cereal boxes for some items so you may want to play around and see what works best for you and for whatever images/designs you are cutting. Also keep in mind that the thickness of the material you cut is going to make a difference in the depth of the embossed impression you get.
Cut the images with the deep blade housing set at the deepest setting and cut two or three times depending on the thickness of the material you are cutting.
Your folder is going to have a "positive" side and a "negative" side that when closed up fit together like a puzzle.
I start with the "negative" which is the larger piece and is what all the little Mickey Heads were cut out of. Lift this piece off the cutting mat (leave the Mickey Heads adhered to the cutting mat for now) and securely glue this to one side of your pre-made folder. Once this is secure you can start adhering the Mickey Heads to the other side of the folder. I do this by very loosely putting them back in the holes they were cut from one row at a time, carefully apply glue just to the backs of the heads & then close up the folder pressing down to make the heads stick to the opposite side. Some of them may stick down in the holes they were cut from instead of on the opposing side but a straight pin works great to pry them out of the hole and then try re-sticking them. Repeat with each row.
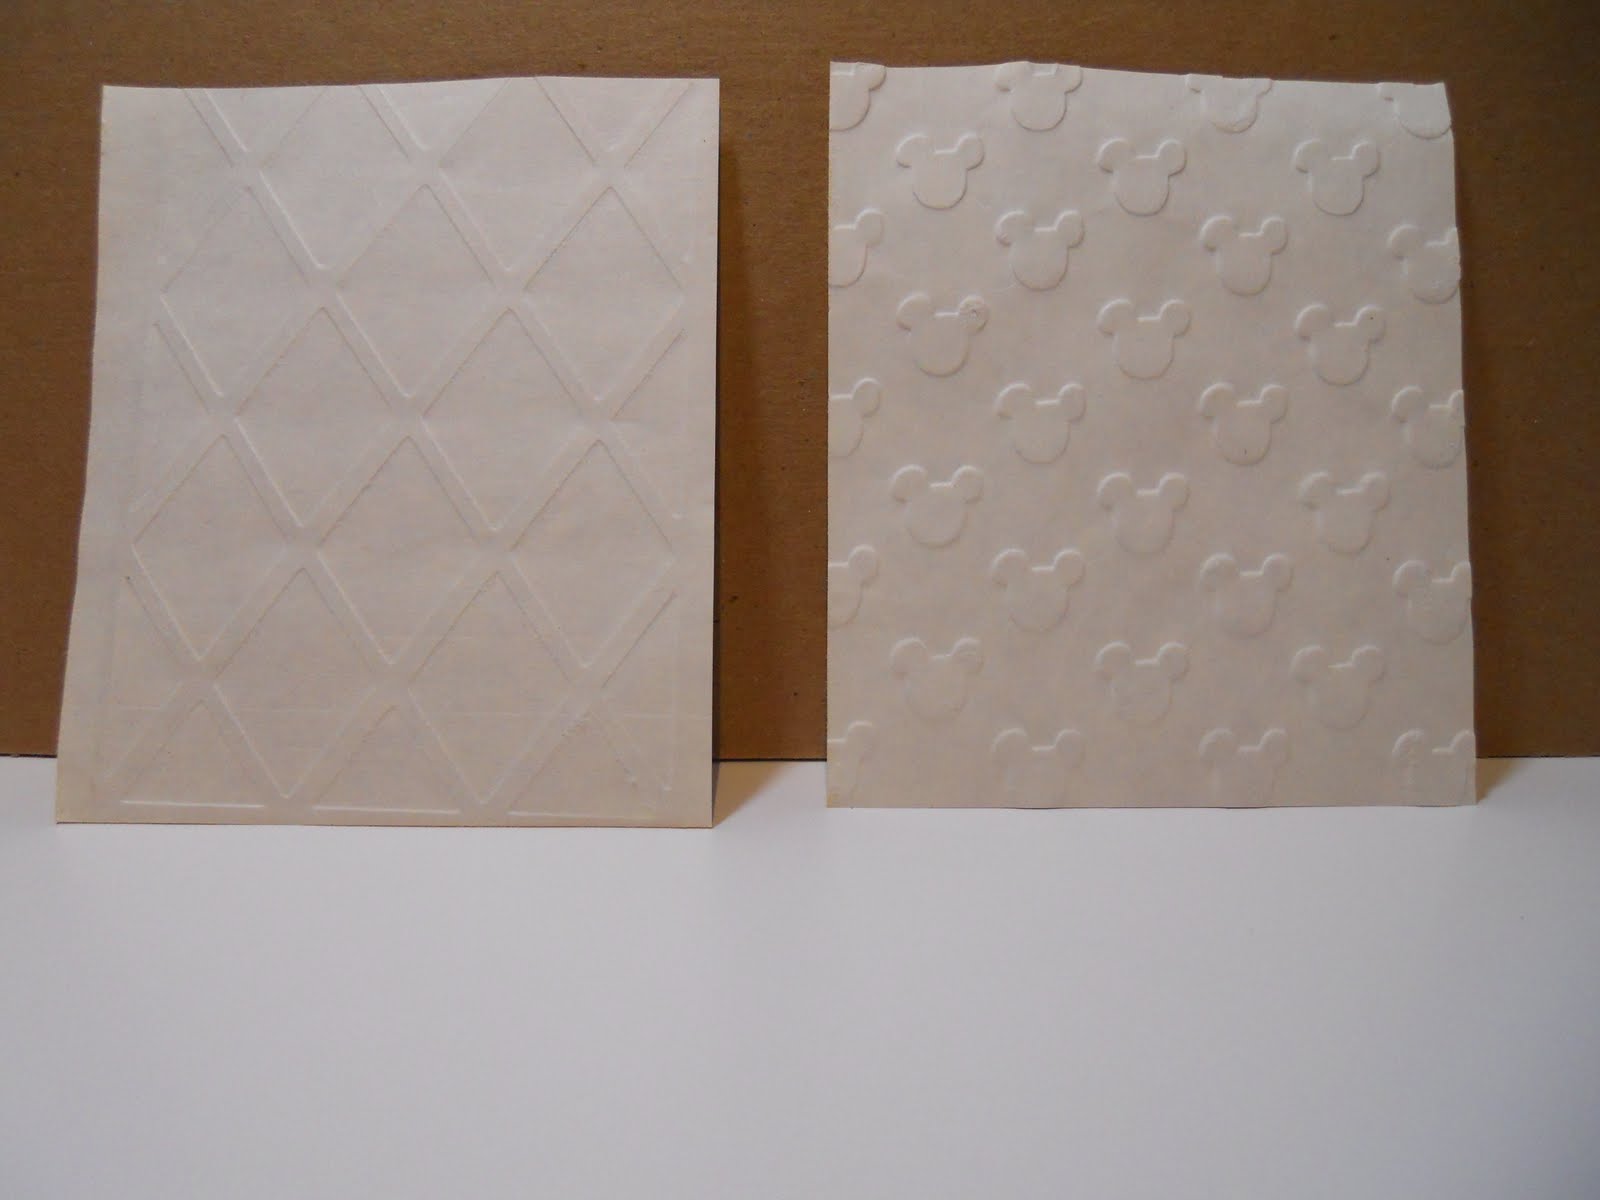
These are examples of the embossed images from two of the folders I have made. I just used scrap paper. You obviously will get a nicer result when using better paper.
I have also used the embossing folder kit by ProvoCraft but can NOT highly recommend it. This lattice folder is an example of one of these folders.
Wishing you sunshine and smiles, love and laughter!