Making the Mickey Mouse Head Embossing Folder:
Decide on the size you want and make the folder itself. You can use poster board, or even cereal boxes. Most Cuttlebug folders are roughly A2 size (4 1/4 x 5 1/2.) I did make the Mickey Mouse Head folder a little larger, but not so large it wouldn't go thru the Cuttlebug.


Cut the images with the deep blade housing set at the deepest setting and cut two or three times depending on the thickness of the material you are cutting.
Your folder is going to have a "positive" side and a "negative" side that when closed up fit together like a puzzle.
I start with the "negative" which is the larger piece and is what all the little Mickey Heads were cut out of. Lift this piece off the cutting mat (leave the Mickey Heads adhered to the cutting mat for now) and securely glue this to one side of your pre-made folder. Once this is secure you can start adhering the Mickey Heads to the other side of the folder. I do this by very loosely putting them back in the holes they were cut from one row at a time, carefully apply glue just to the backs of the heads & then close up the folder pressing down to make the heads stick to the opposite side. Some of them may stick down in the holes they were cut from instead of on the opposing side but a straight pin works great to pry them out of the hole and then try re-sticking them. Repeat with each row.
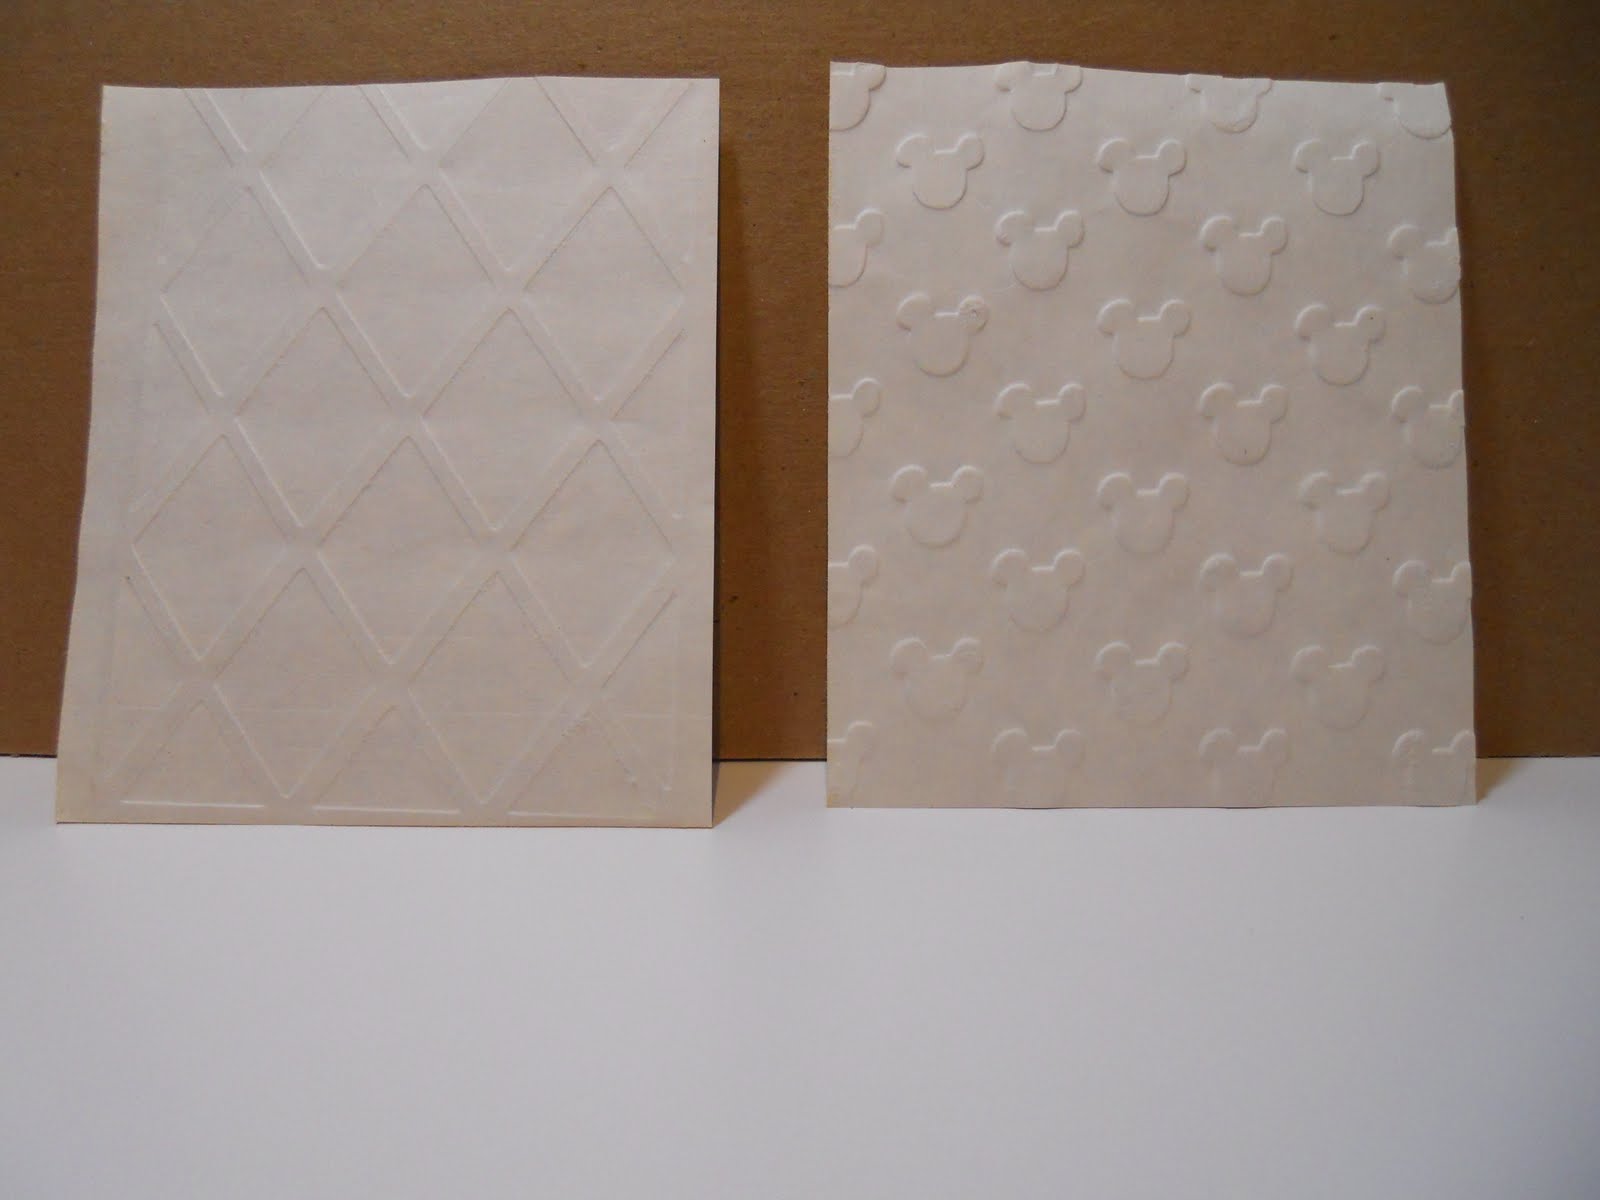
These are examples of the embossed images from two of the folders I have made. I just used scrap paper. You obviously will get a nicer result when using better paper.

Wishing you sunshine and smiles, love and laughter!
awesome job Tami! I will have to give this a try :)
ReplyDeleteThanks for sharing!!
Thanks for the tip. I use to work for the Mouse when I worked at Disney World in FL.
ReplyDeleteMelissa
"Sunshine HoneyBee"
http://createdbysunshinehoneybee.blogspot.com
Thank you for this tip. I have wanted one of these since I saw you use it in your Blog Hop project. I wonder how I can do it without a Gypsy? At least now I have your GREAT step by step to use. Mind if I use it for a guest blog post on my site?
ReplyDeleteGreat Idea Tami. Will have to try it sometime.
ReplyDeleteVictoria :_)
Great idea to just make your own. I have LOTS of different designs in my head and have had for a long time. Now I just need to take the time and make some. THANKS so much!!! Hugs- Glora
ReplyDeleteThanks Tami for stopping by and letting me know about winning I had no idea I have been a couch potato today. Thanks for the compliment also on my cards. Victoria :) hugs.
ReplyDeleteThis is genius! I love it!
ReplyDeleteI'd love to be able to print off these instructions. I love knowing how to make my own embossing folder. Actually, can you e-mail the instructions to me? Thanks for sharing. Edwina Brown edwinabrown@comcast.net
ReplyDeleteReally cool, I'm going to try it
ReplyDeletelove this idea!!! thanks :)
ReplyDeleteHello....thanks fpr sharing....
ReplyDeleteCould u make one and sell to me....i need to make invitations for my sons 3rd bday party in july.....
Is this something I can do with the cricut air 2
ReplyDeleteHi Pam, yes, you could do this with any cutting machine.
Delete